Products
Open-air cinema
Organize a screeningFree or ticketed?Start an outdoor cinemaCampsites & holiday parksBeach cinemaOpen-Air Movie ScheduleAccessories & tools
AccessoriesCinema packagesComprehensive solutionsScreen rentalComparisonInstructions for useTools
Screen ConfiguratorTent ConfiguratorFurniture ConfiguratorLounge configuratorArch configuratorAirtight side viewBlower side viewThe company
Installation guide
Assembly and disassembly
Inflatable Screens
Welcome to our page dedicated to detailed instructions for mounting and dismounting inflatable screens. Explanatory videos and step-by-step tutorials.
Tutorial videos
Watch our how-to videos to learn how to assemble and disassemble your Hallucine inflatable screens.
Inflatable Screen Installation Instructions
Follow these step-by-step instructions to install your inflatable screen safely.
Delivery content
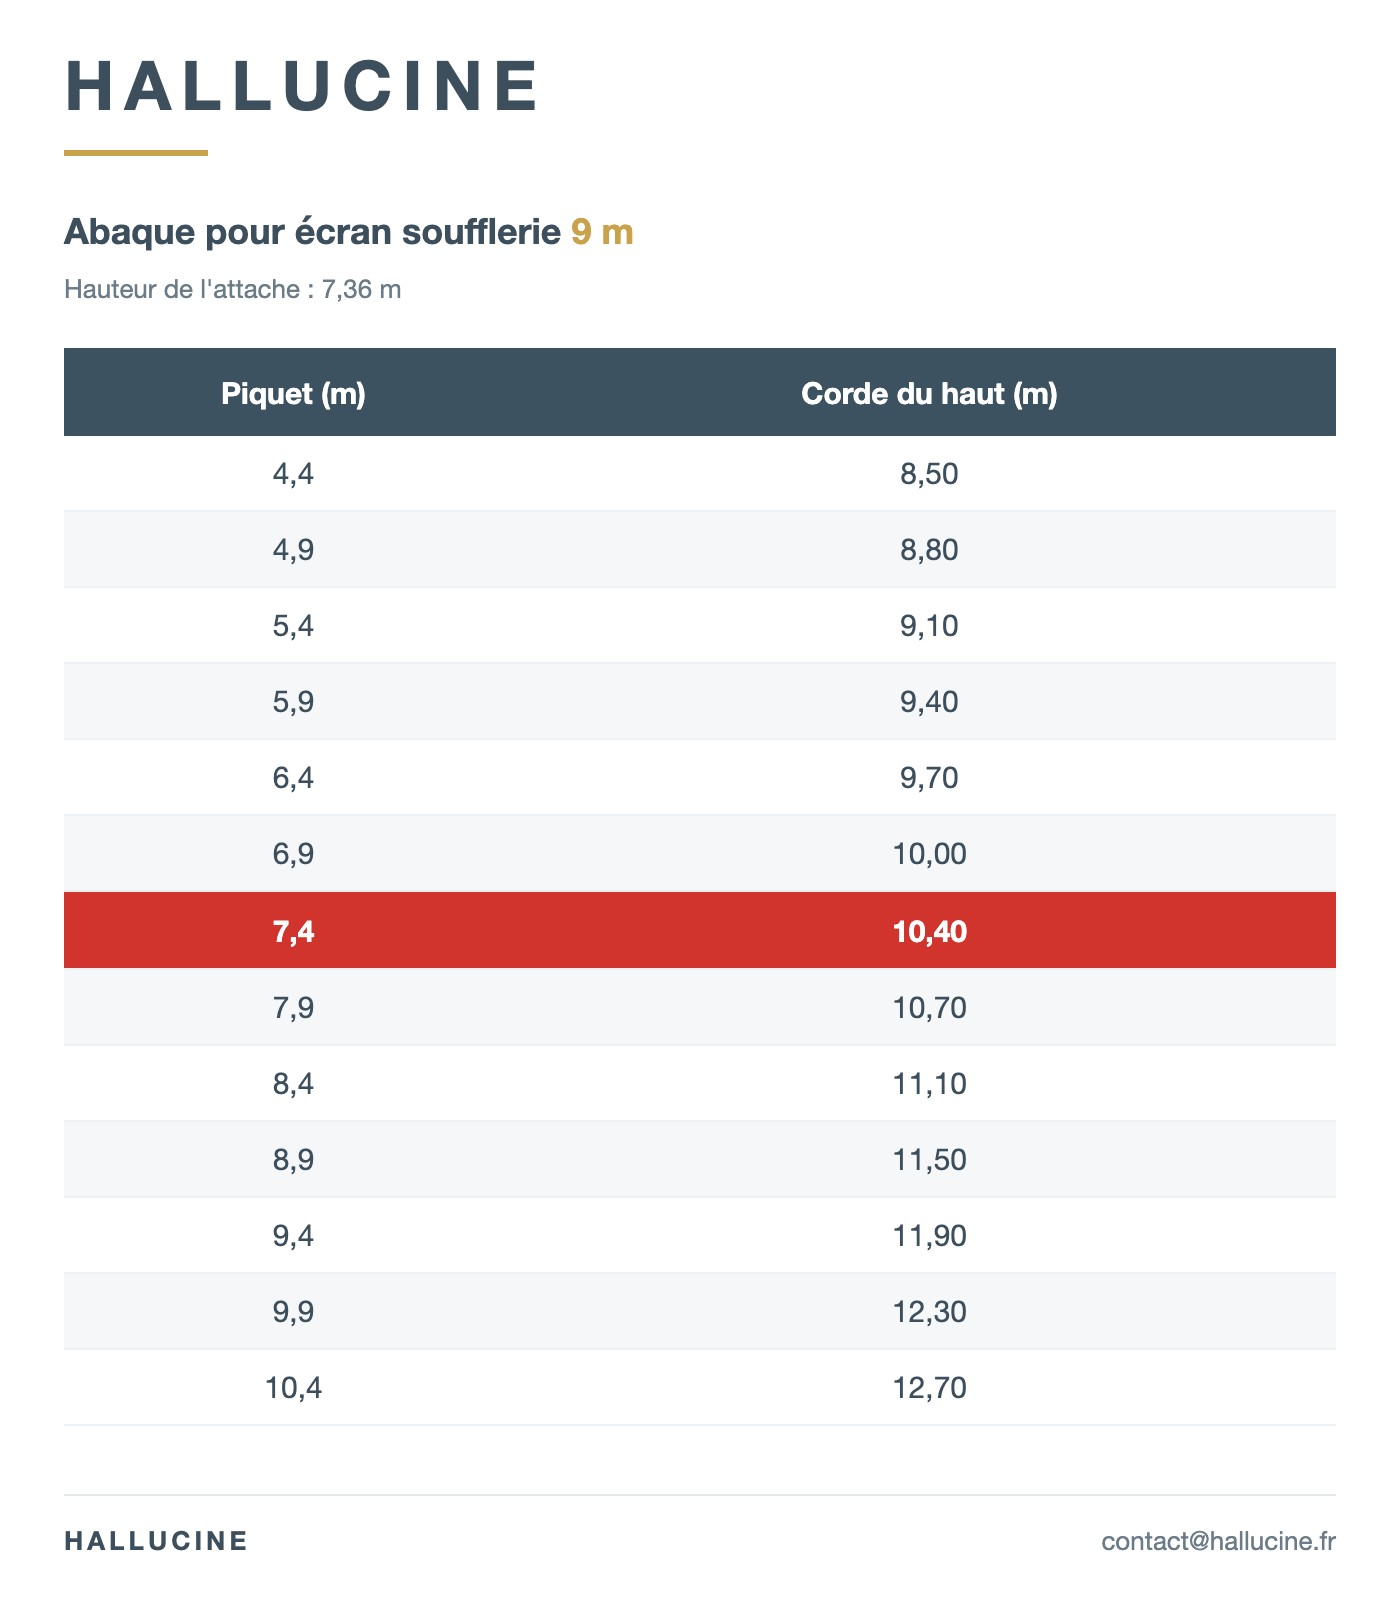
Abacus
Reference document for rope lengths
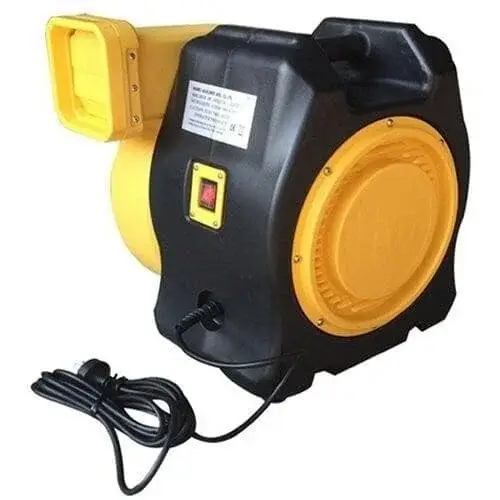
Blower
Electric blower to inflate screen
Full screen
Frame + Projection screen + Bracing fabric + Storage bag
10 Strings
4 top strings (longest), 4 bottom strings (shortest), 2 middle strings (intermediate length)
Equipment Necessary But Not Included
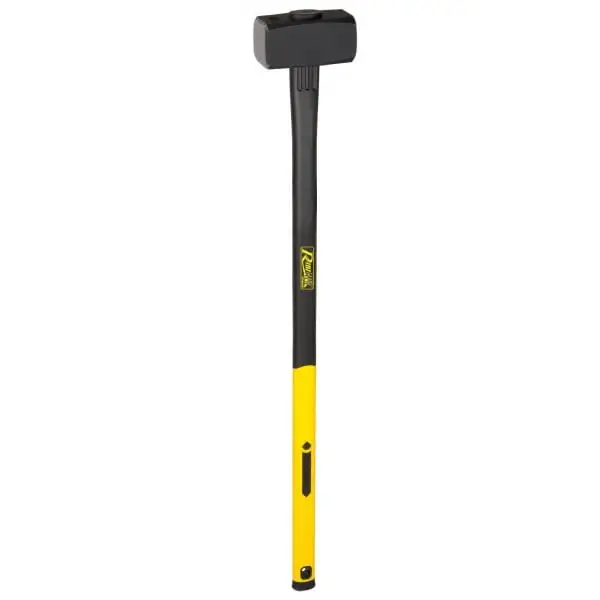 7 lbs mass
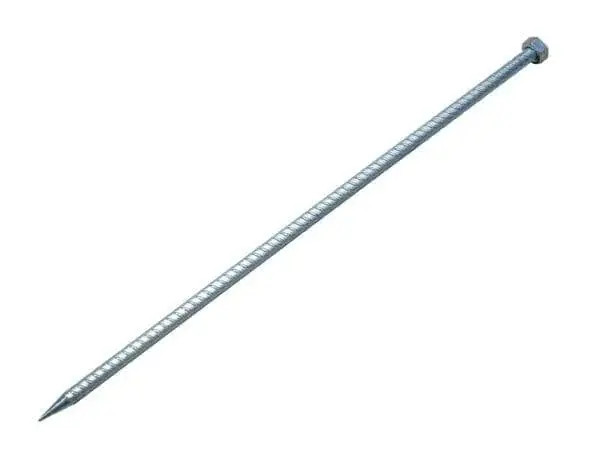 4 anchoring stakes
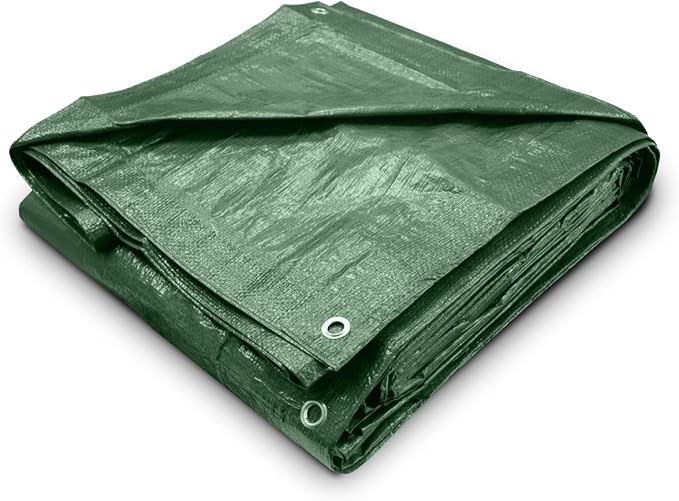 green tarp
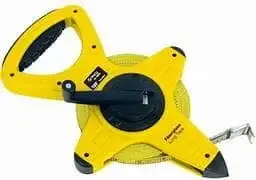 Double decameter
Adjust your chart to fit your screen size
Select your model to find out the length of the top rope based on the distance from the stake.
Height of the top rope attachment point (model): 5,83 m
Stake 20 ft from the screen — Corde 27 ft
Installation steps
Preparation
- Unroll the green tarpaulin on the ground to protect the area where the screen will be installed.
- Unfold the bag lengthwise onto the tarpaulin, making sure to identify the front of the bag (indicated by a white sticker). Do not open the bag at this stage.

Unfolding the bag lengthwise on the tarpaulin
Securing the screen base
- Take out the 4 ropes from the bag's 4 pockets and deploy them at right angles (open the zips on the pockets).
- Plant 4 anchor stakes, one at the end of each rope.
- Attach the 4 bottom ropes to the stakes to secure the base of the screen. Make sure all 4 ropes are taut. For each post, tie a dead turn, then a single stopper knot.
- The bag, always closed, will be immobilized in the center of the 4 stakes.
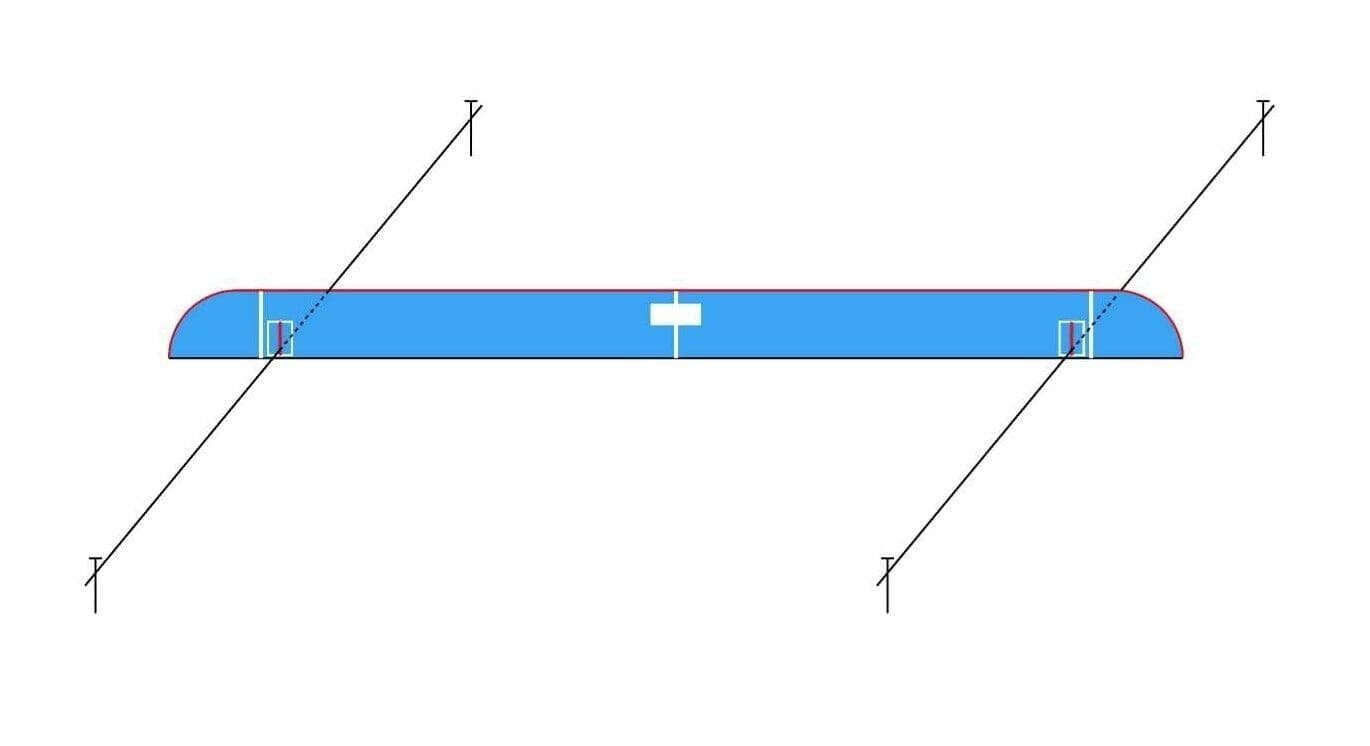
Securing the screen base
Screen deployment
- Open the bag and unfold the screen flat on the floor, with the bracing fabric facing the ground.
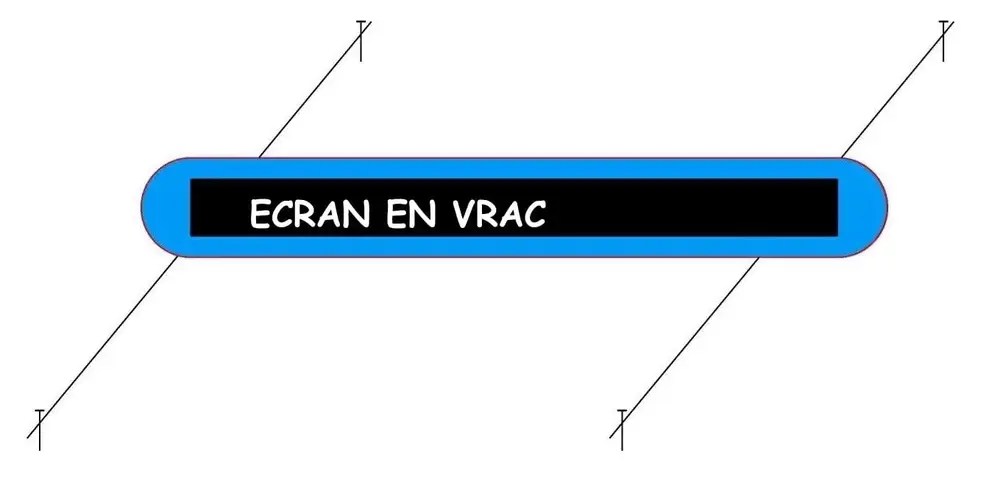
Deploying the screen on the floor
Screen flat on the floor
- The screen is now fully unfolded on the floor, ready for the top strings to be attached.
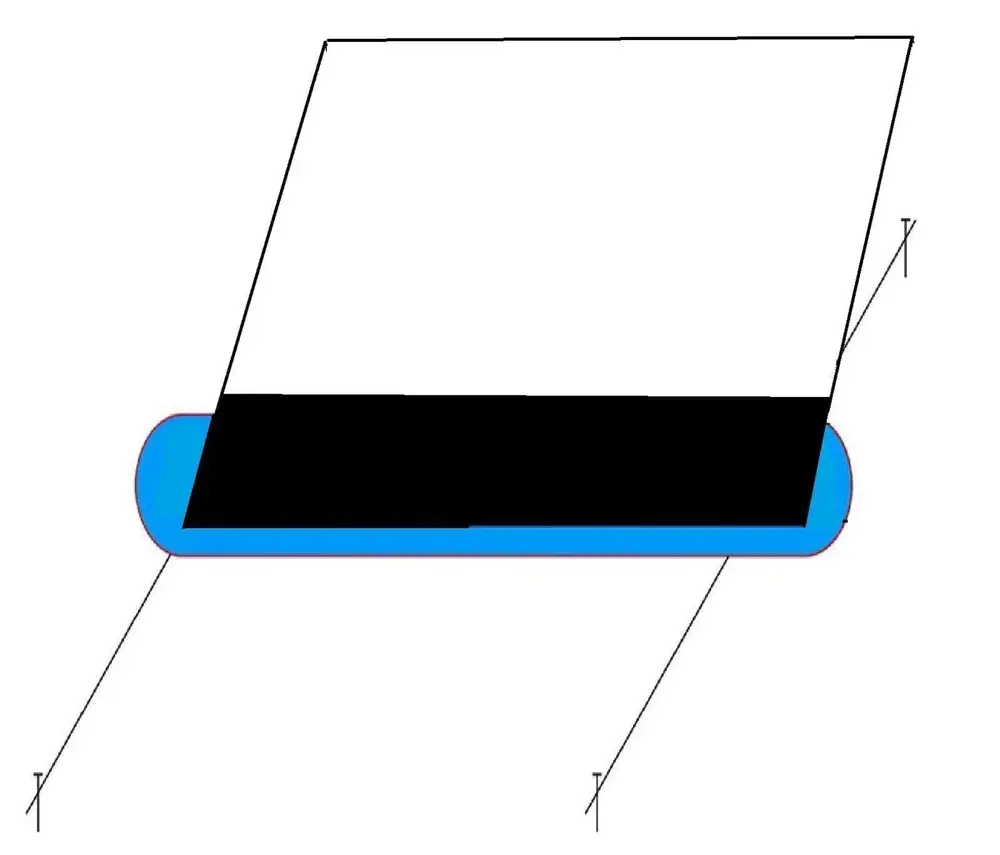
Screen flat on the floor
Fixing the top strings
- Fold the screen in half on itself.
- Attach the 4 ropes to the top of the screen, using the loops provided. Attach two ropes to the right and two to the left, securing them to the same anchor points on the screen.
- Unroll the 4 ropes, directing 2 ropes to the pegs at the front of the screen, and the other 2 to the pegs at the back of the screen.
- Tie the 4 top ropes to the posts, without tensioning them. The length of each rope depends on the distance between the post and the base of the screen (refer to the abacus supplied).
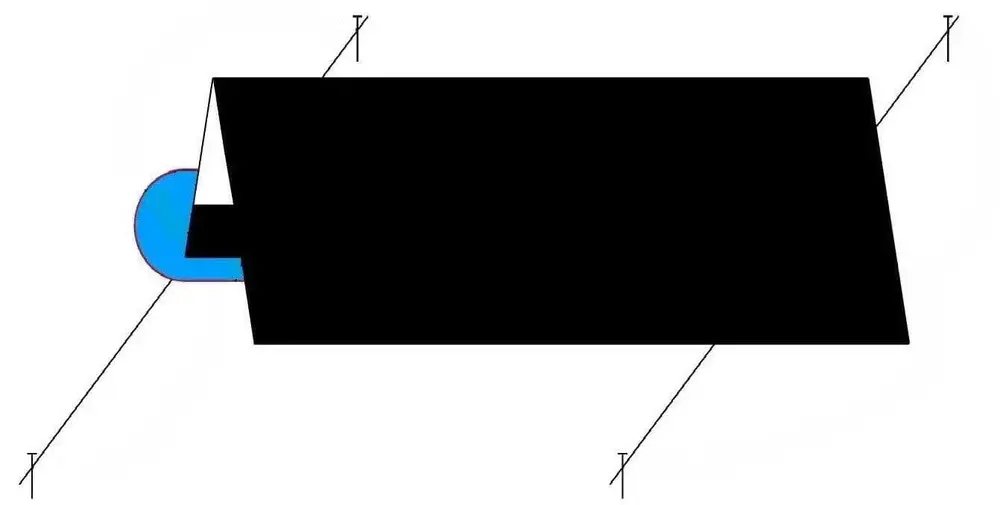
Folding the screen in half on itself
Unwind the 4 strings
- Direct 2 ropes to the pegs at the front of the screen and the other 2 to the pegs at the back.
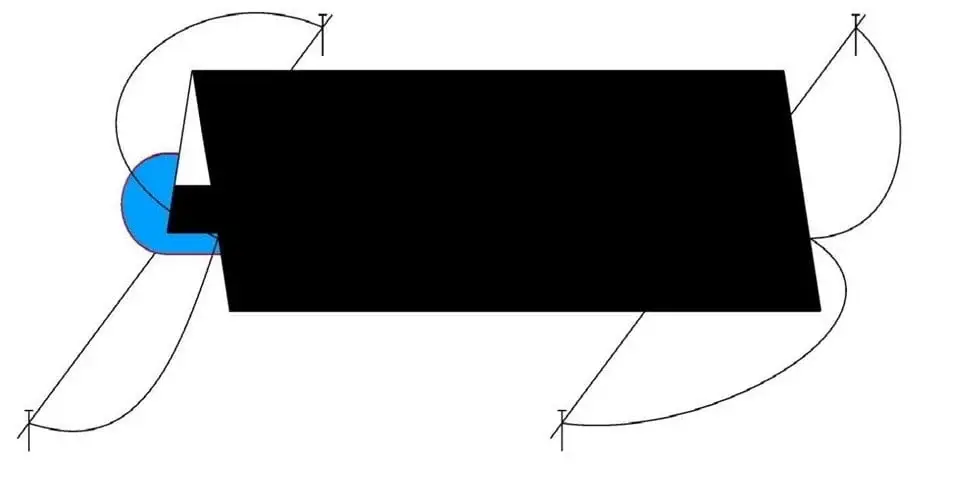
Unroll the 4 ropes towards the stakes
Blower activation
- Connect the blower to the sleeve on the side of the screen.
- Make sure that the zippers on the screen (available in 3 positions: top, bottom and sides of the screen) and the secondary sleeve behind the bottom of the screen are securely closed.
- Switch on the blower: the screen will straighten itself.
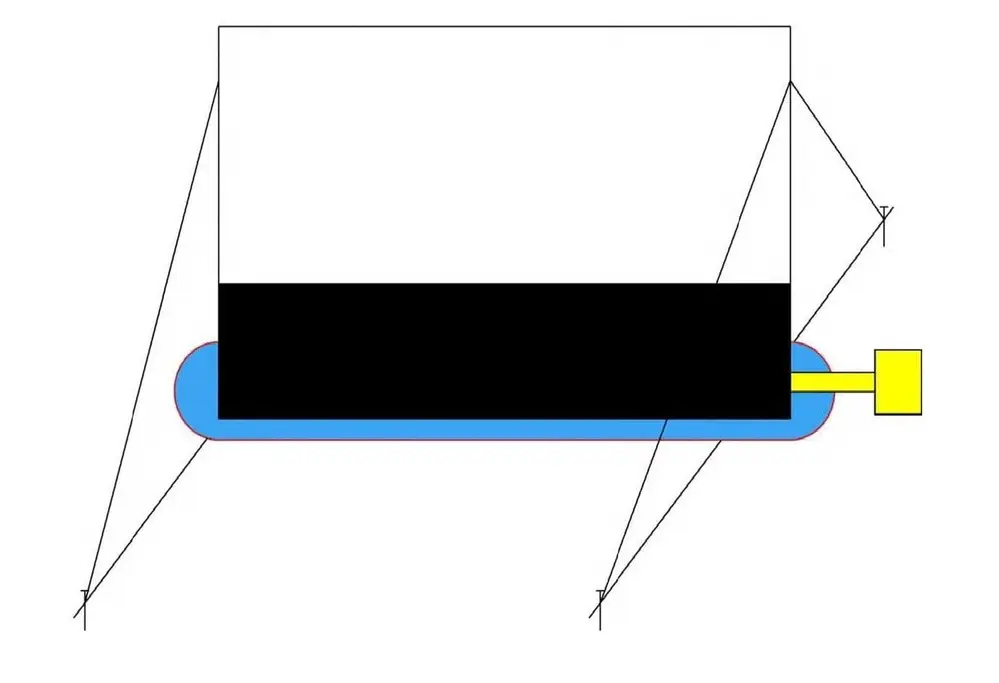
Activate blower - display straightens out
Your screen is now set up. Should you have any questions, our team is at your disposal.
Installing the airtight screen is identical to that of the blower screen (tarp, stakes, ropes). This guide only covers inflation and deflation.
The two types of valves
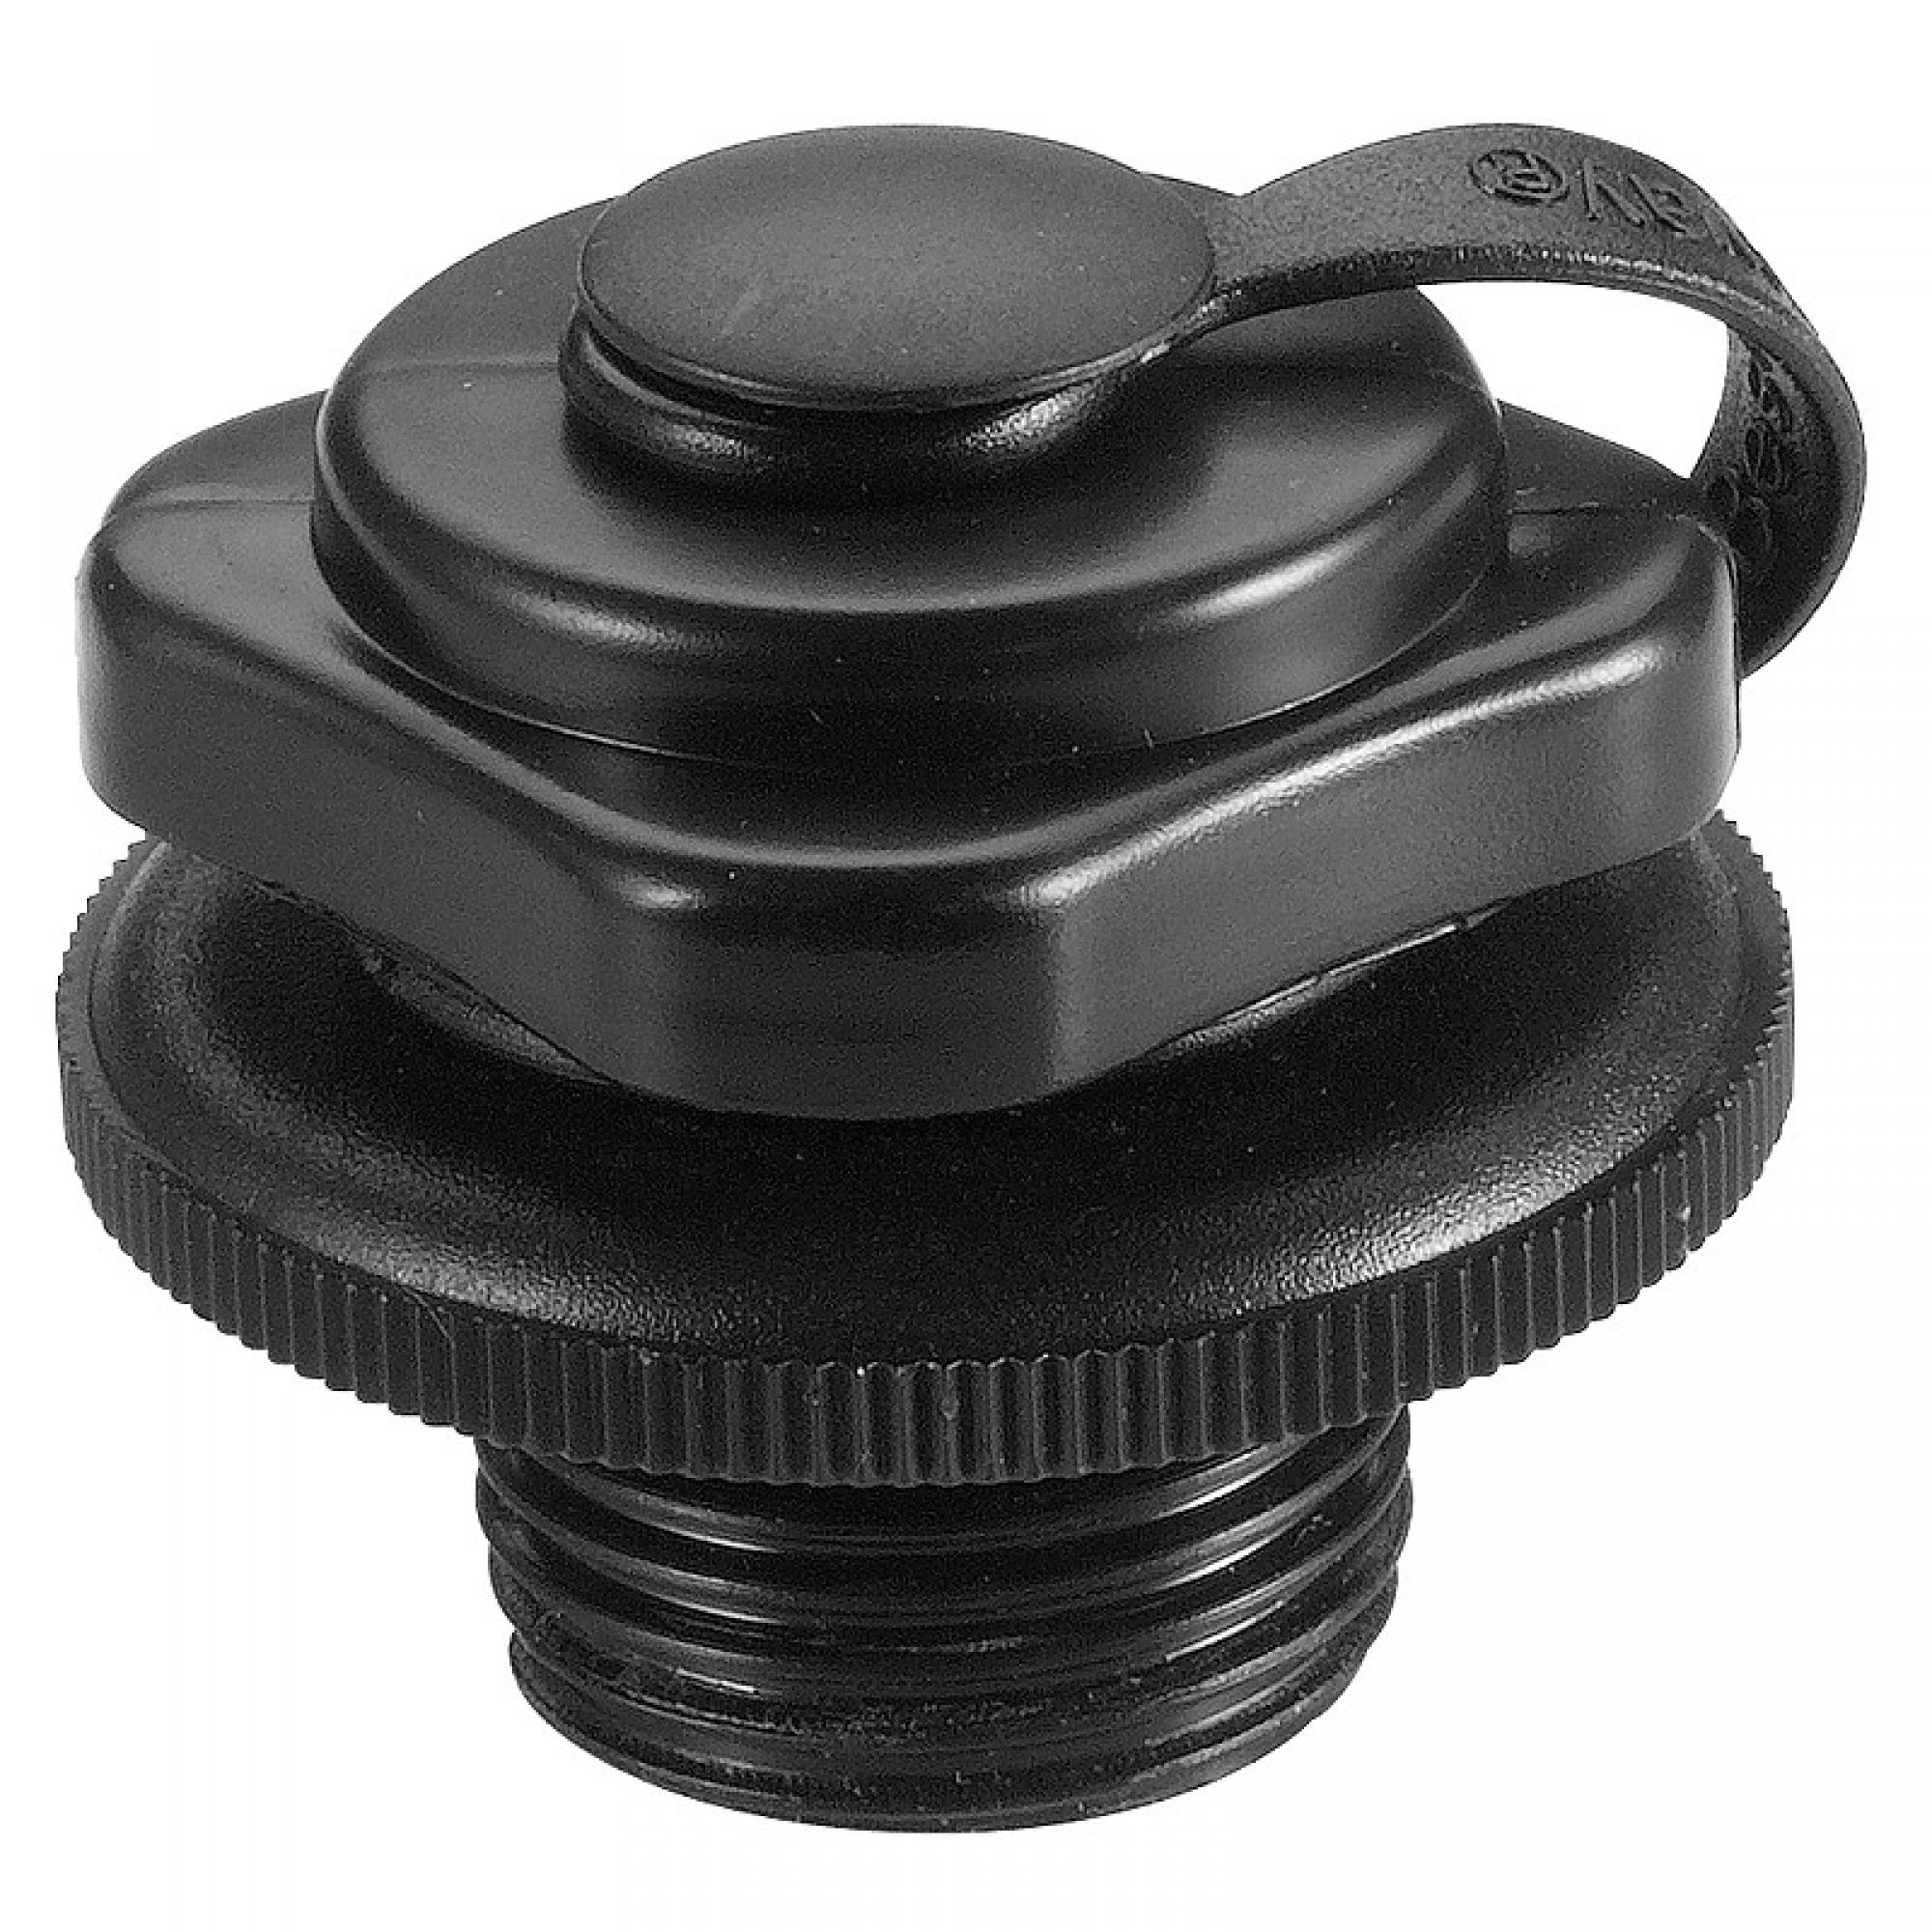
Inflation / deflation valve
Black body, one per tube (5 or 6 depending on the size). The only valve you handle. Cap screwed onto a strap so it can't be lost.
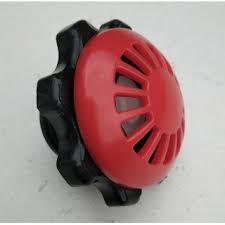
Pressure relief valve (red)
Red body, 1 or 2 depending on the model. Opens automatically if the internal pressure exceeds the safety threshold (intense solar heat, for example).
Never open this valve manually
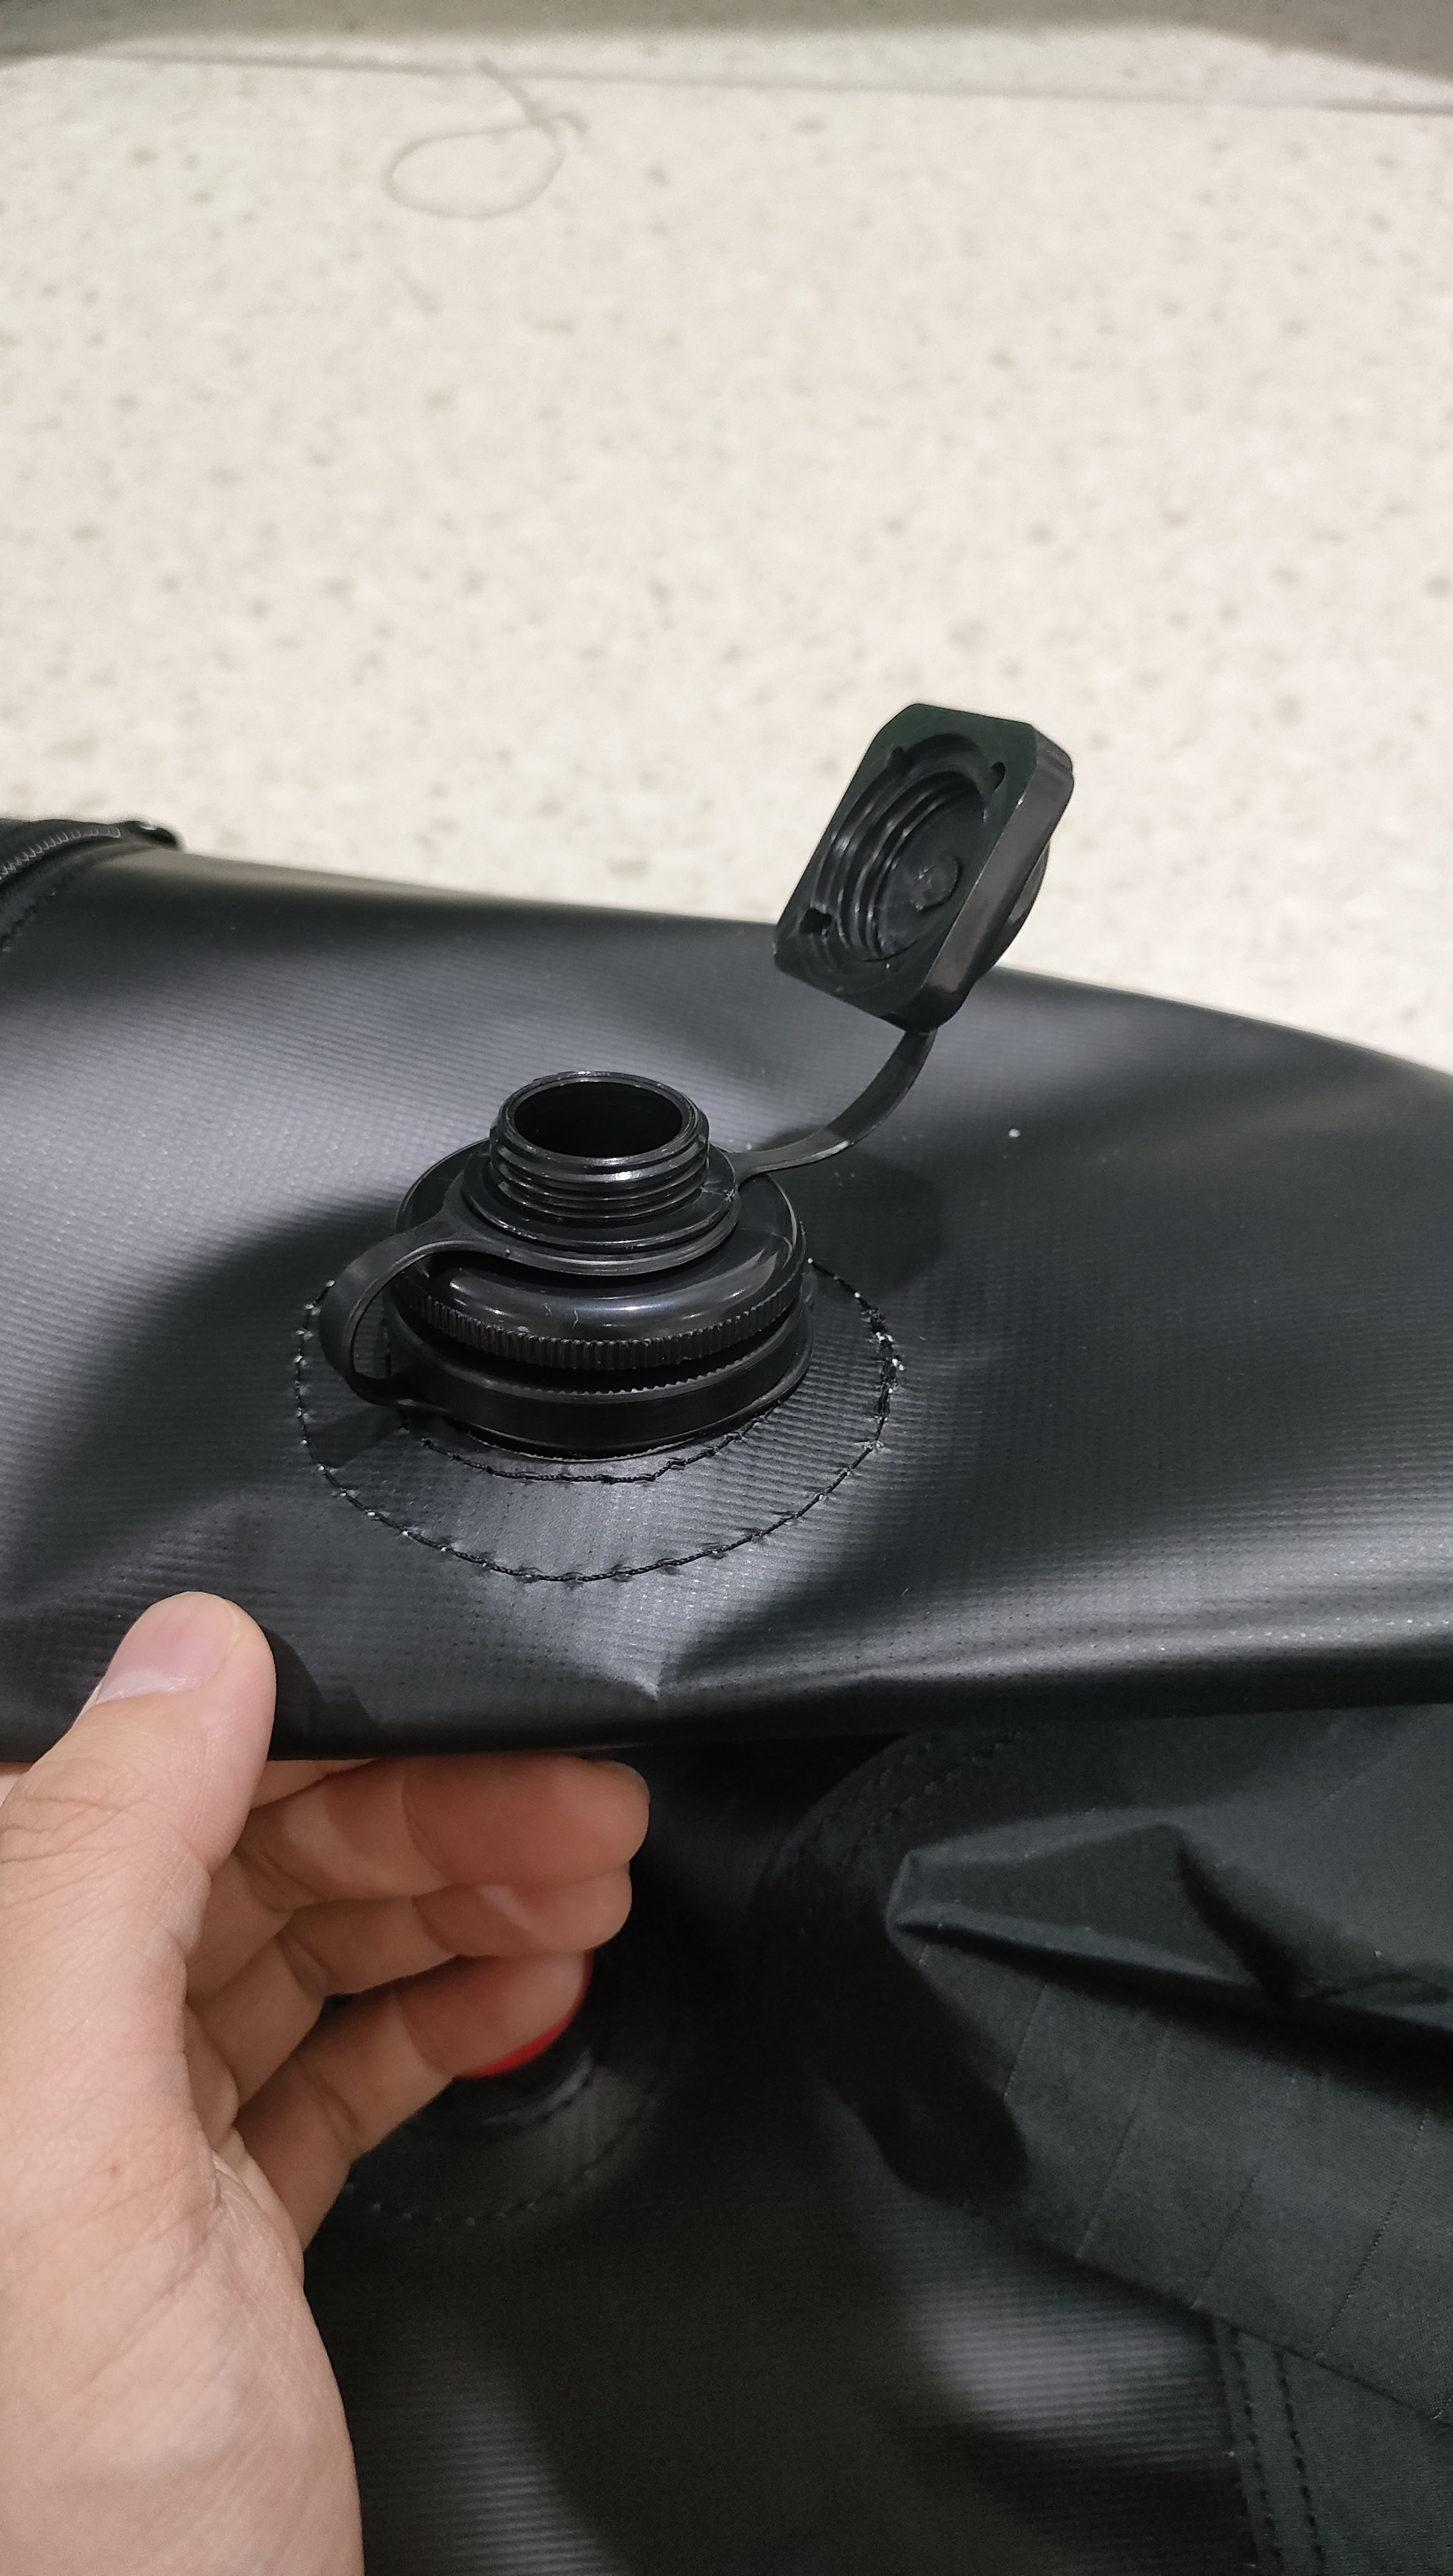
Valve open for inflation
This is the inflation position. The valve remains screwed onto the tarp; only open the small top cap (held by its tab, so it won't get lost). Fit the inflator nozzle into the opening, inflate, then screw the cap back on without forcing it. The non-return valve inside prevents air from escaping during the operation, so no need to panic between removing the inflator and closing the cap. To avoid: overtightening the cap — it's the seal that pays the price.
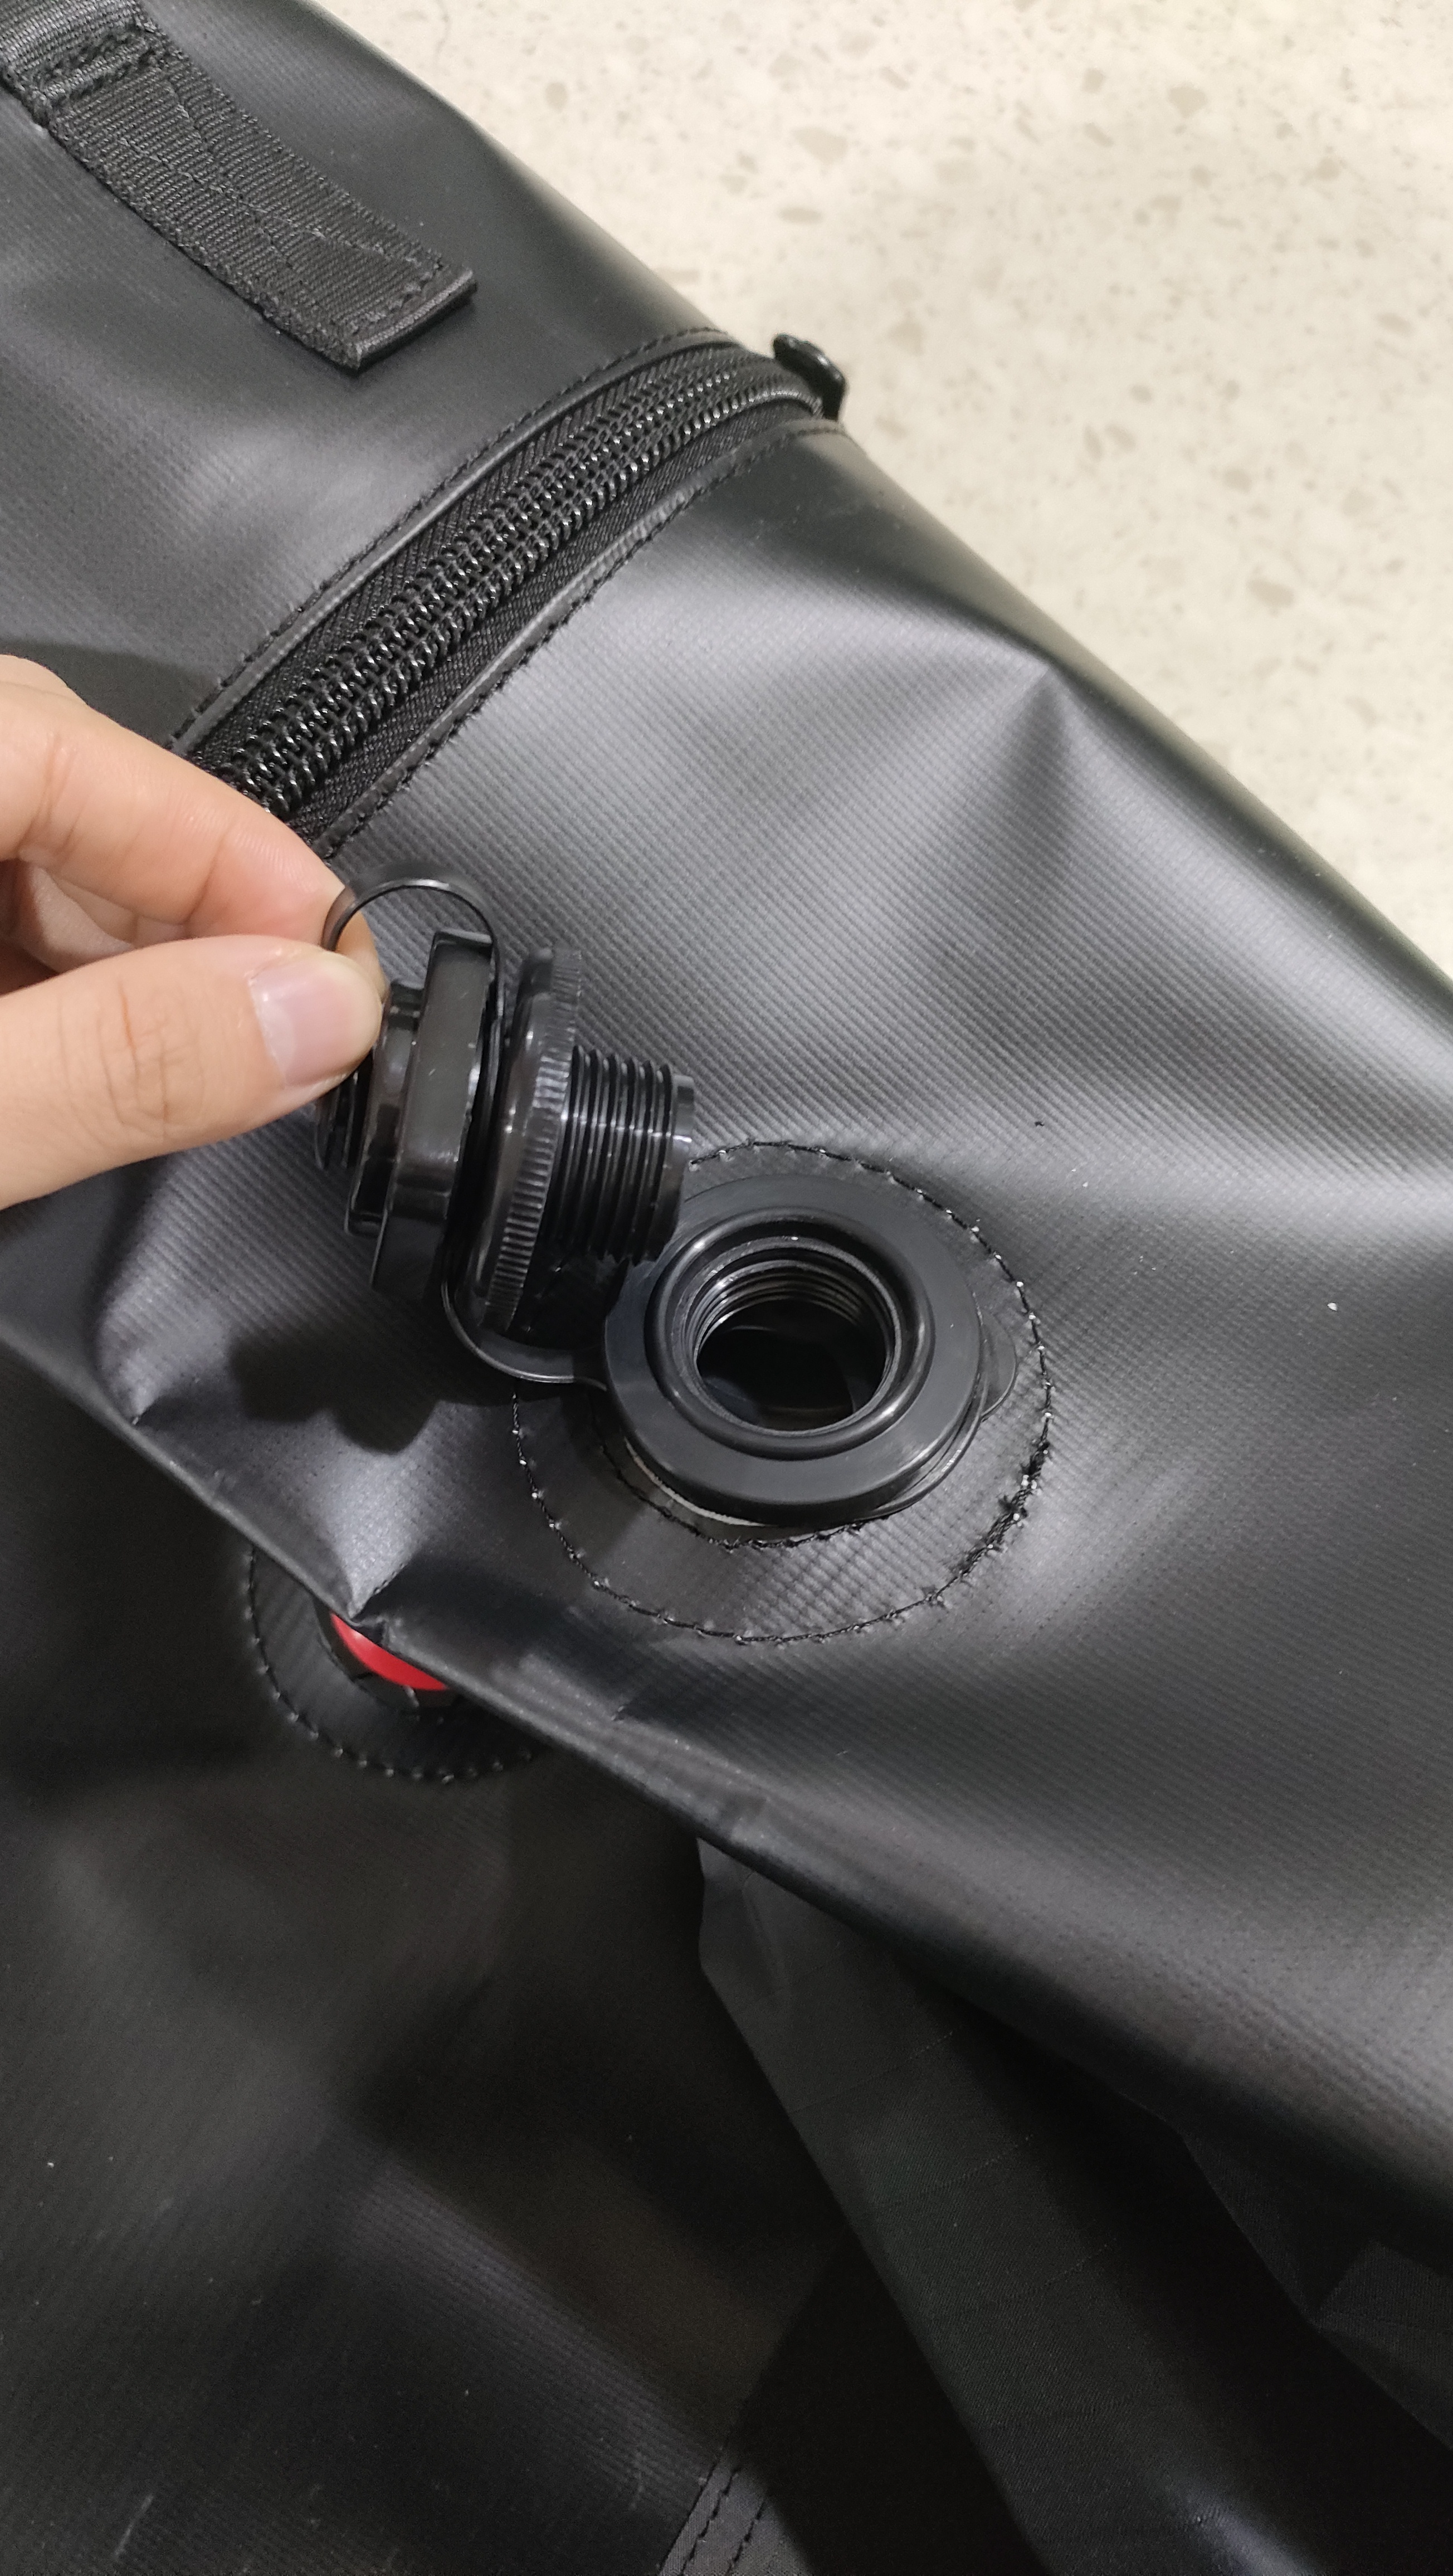
Valve fully open for deflation
This is the deflation / storage position. The entire valve body (the part you're holding in your hand) unscrews from the black ring sewn and welded onto the tarp. Once removed, the opening is wide open: the air rushes out in one go, effortlessly, and the air beam empties within seconds. It's also in this position that you check the seal and clean the inside (sand, grass). To avoid: unscrewing this large ring thinking you can inflate through it — you always inflate through the small cap on top.
Screen structure
The frame consists of 4 sections and one or two central columns. Each section forms an independent tube, but they are all connected by an internal hose: air flows freely from one tube to another.
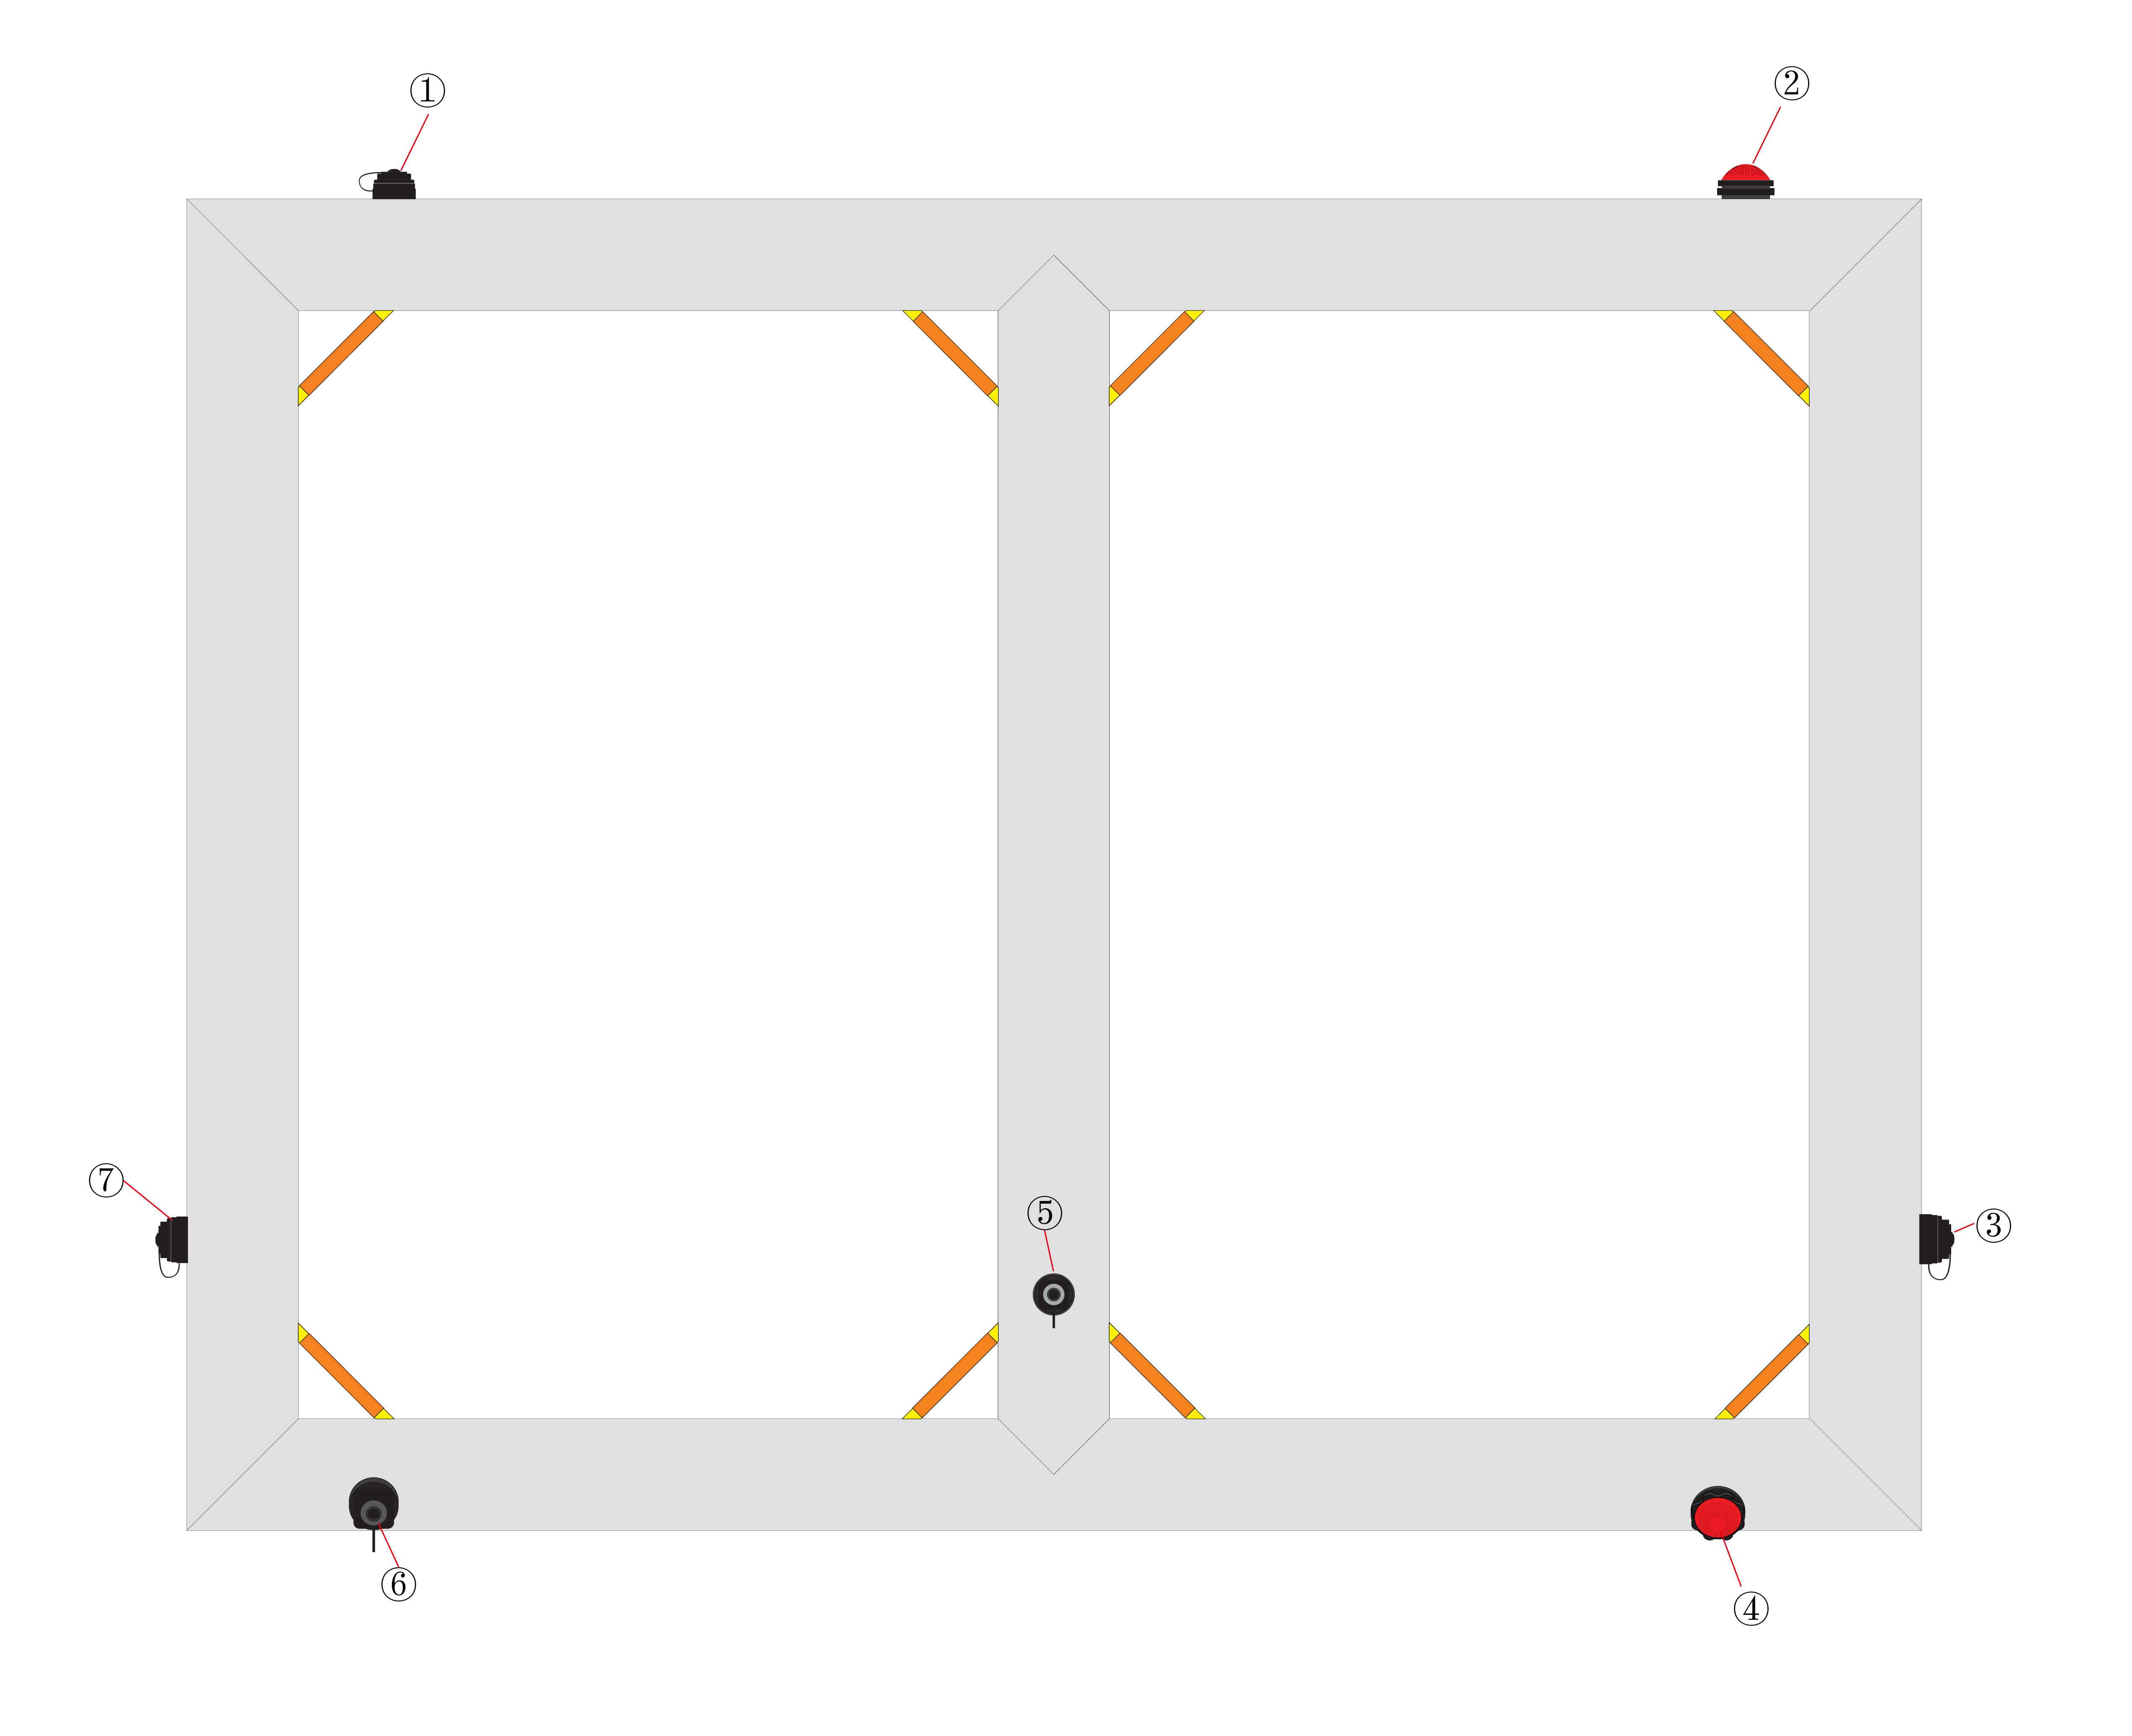
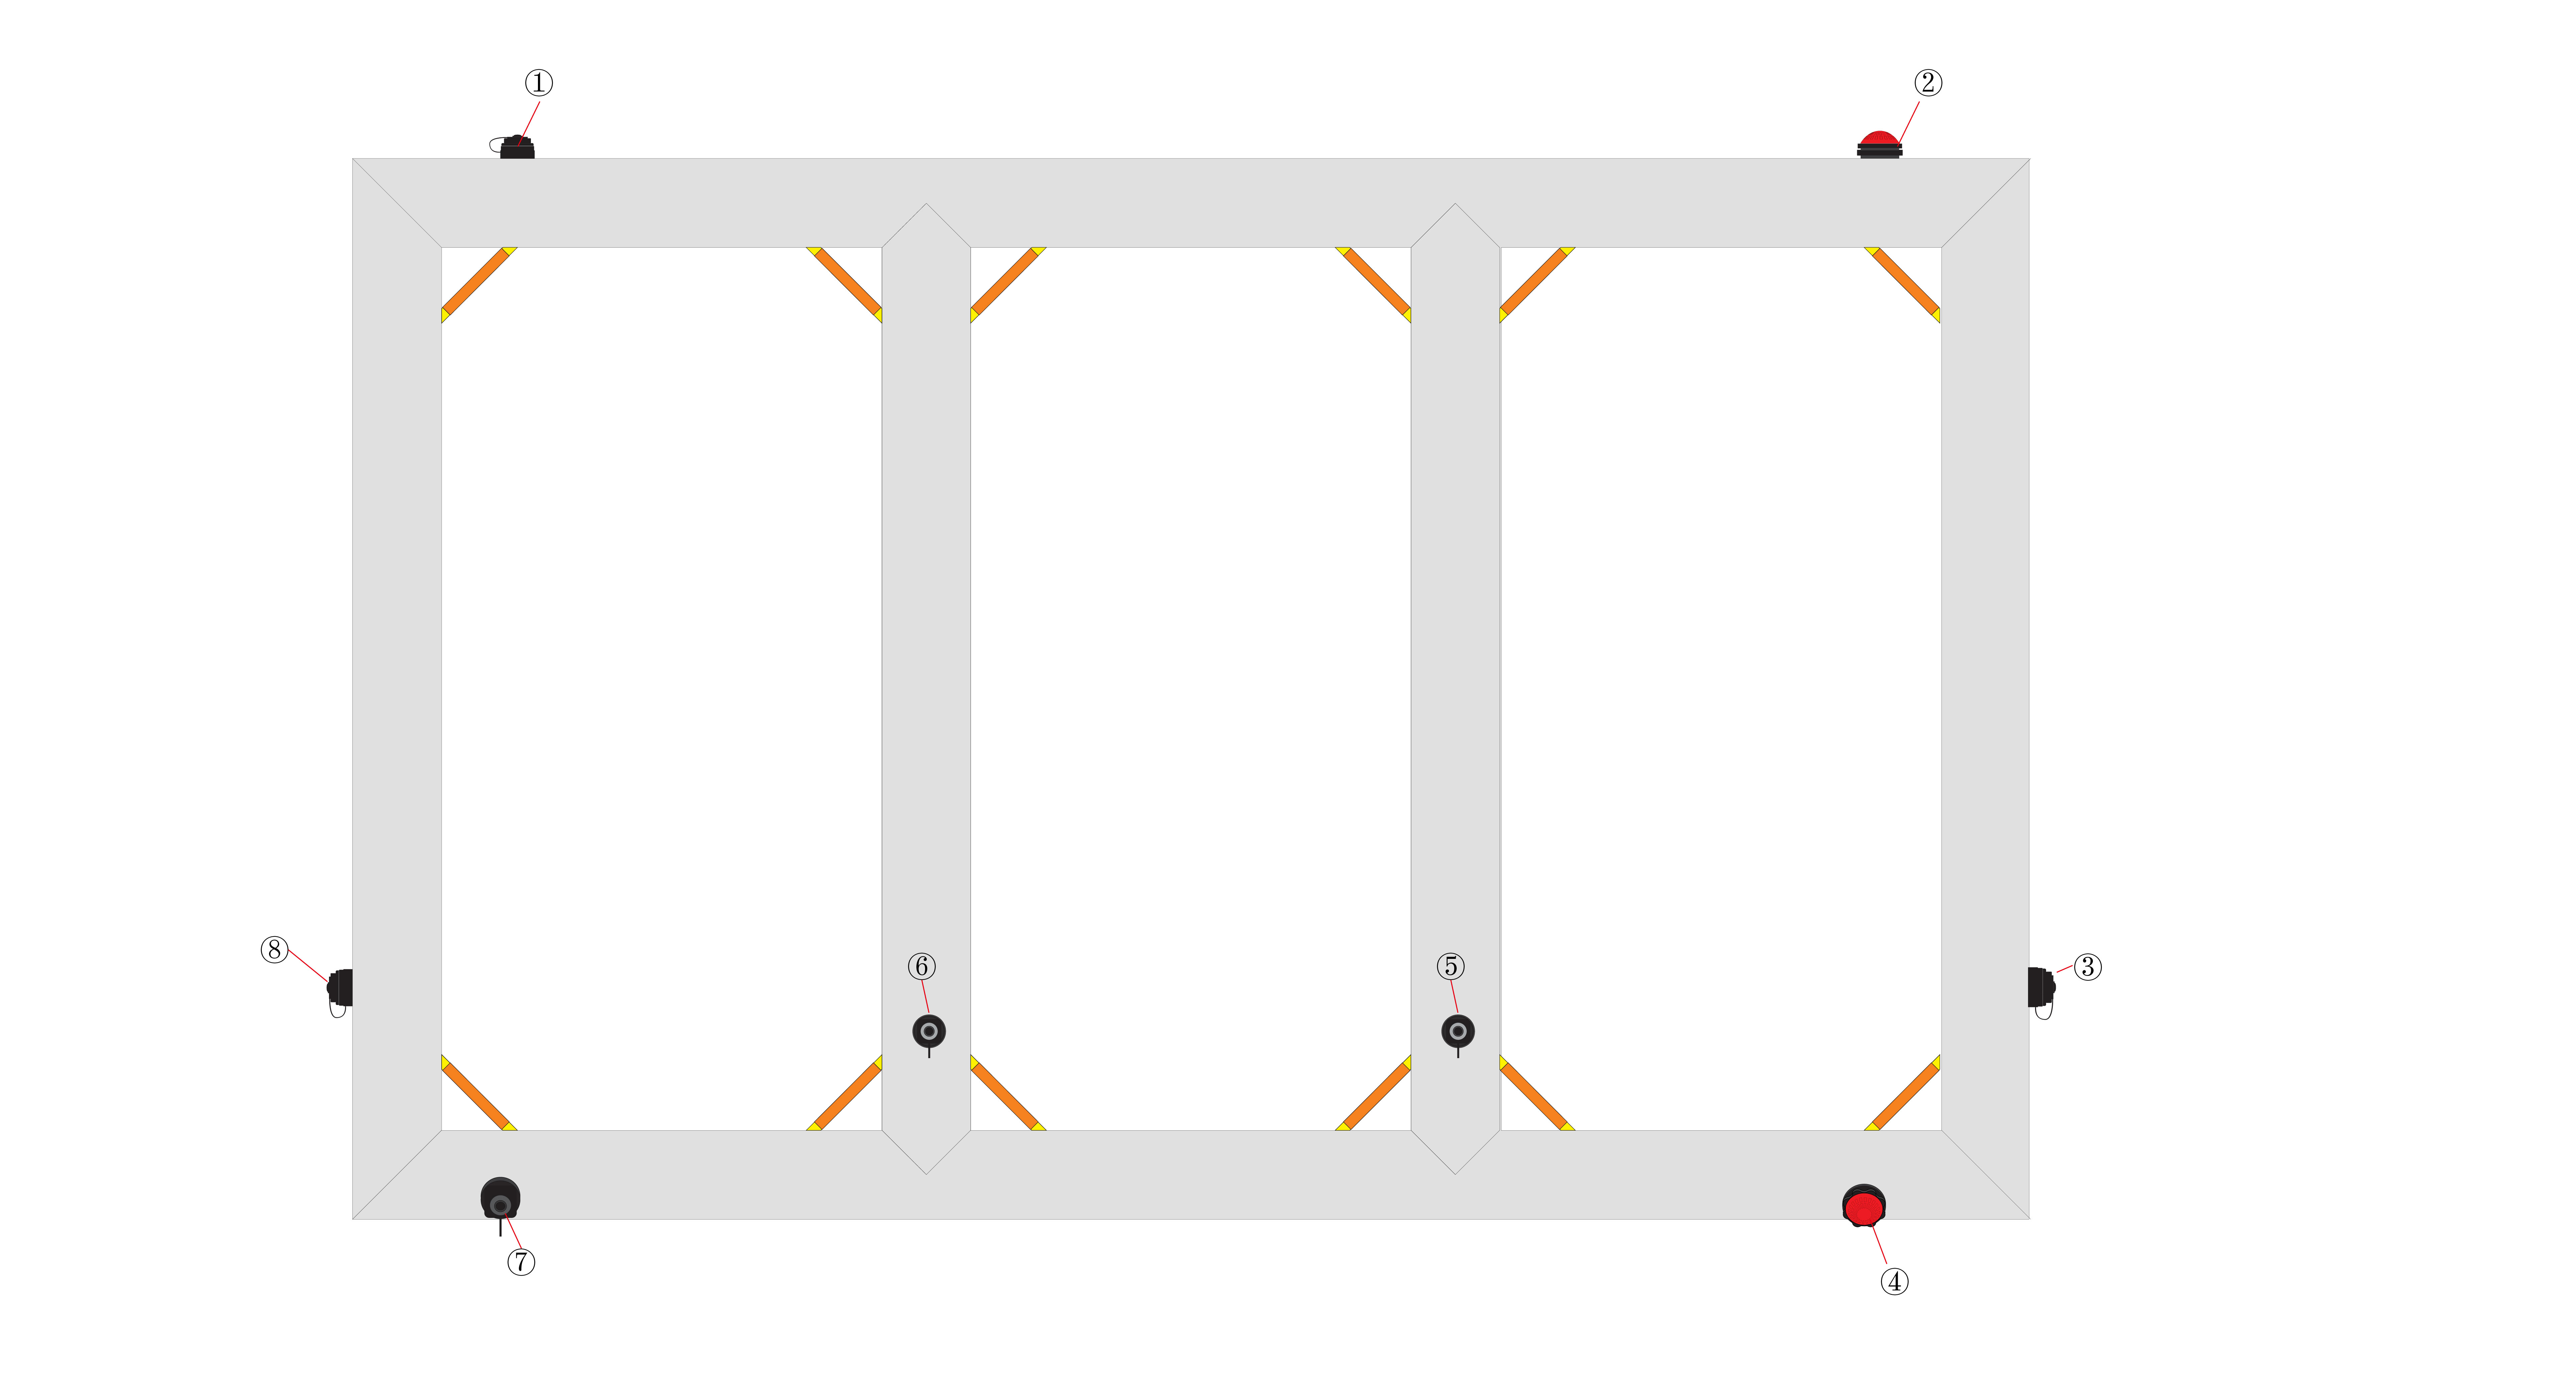

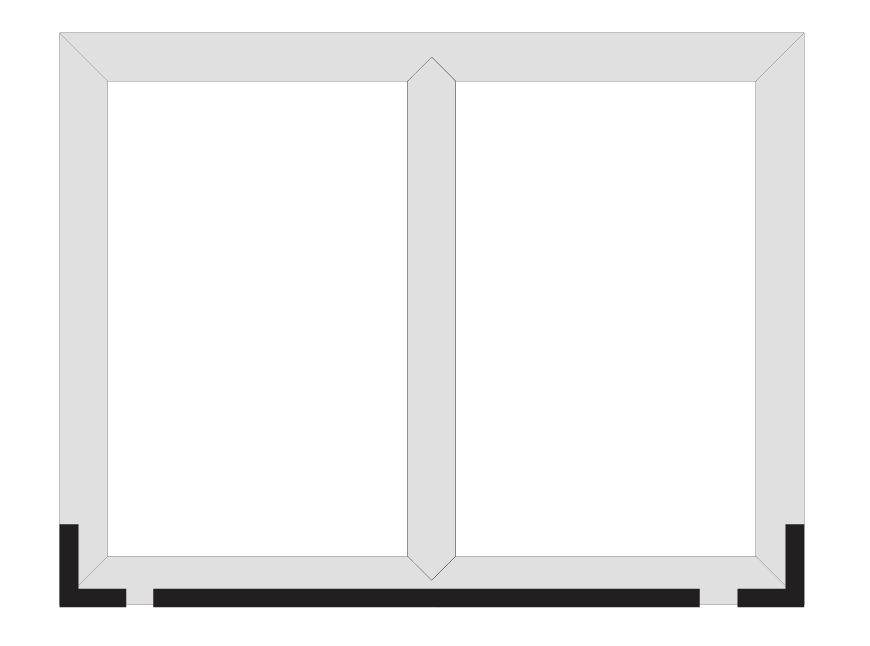
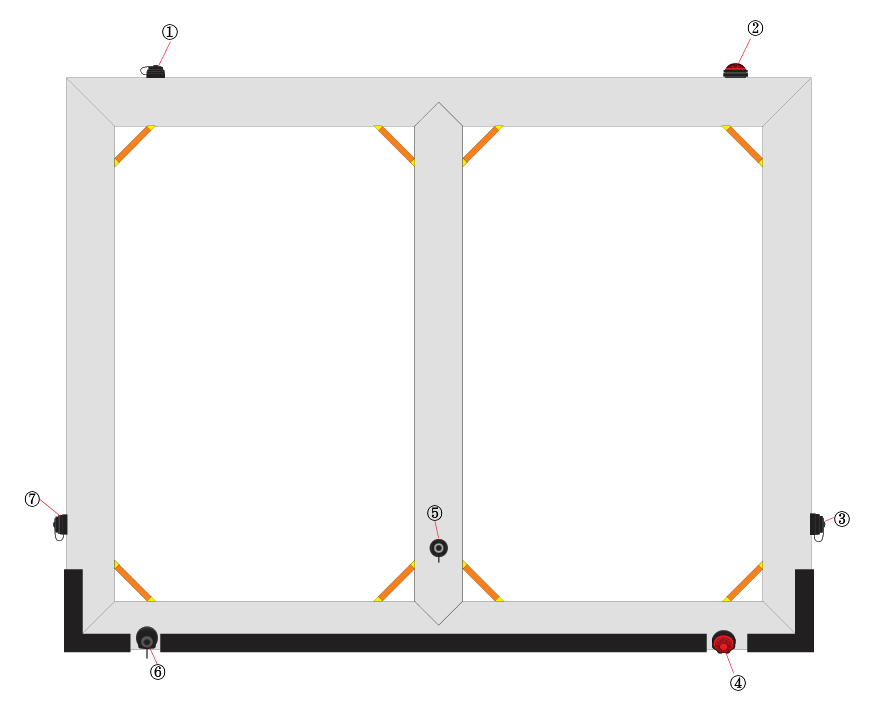
Up to 20 ft — 5 tubes
Over 20 ft — 6 tubes
The gold dots indicate the location of the inflation valves.
Setup
- Set up the screen as shown in the "Blower screen" tab: tarp on the ground, stakes, low ropes then high ropes.
- Unfold the screen flat, projection surface facing up.
- Check that all the (black) inflation valves are properly closed before starting.
Inflation
- Locate the inflation valves on each tube (black body, 5 or 6 depending on the size).
- Choose an accessible valve. Leave all the others closed.
- Unscrew the cap of the selected valve and connect the inflator hose.
- Switch on the blower: the air is distributed through all the tubes via the internal hose.
- Inflate until the structure is firm and standing straight. Do not over-inflate — the red valve will open by itself if the pressure is too high.
- Turn off the blower, remove the hose and screw the cap back on.
Air circulates naturally between all the tubes. A single inflation point is enough — there's no need to connect each tube separately.
On screen
- Once the screen is fully inflated, tighten the top ropes and check that it is plumb.
- Check that all inflatable tubes are at the same pressure and that the projection surface is flat.
- If the red valve hisses or opens, this is normal in hot weather: it is doing its job. Do not touch it.
- If the pressure drops slightly during a screening, quickly reinflate through a black valve.
Deflation
- Loosen and detach the ropes from the top of the stakes.
- Open all inflation valves at the same time (unscrew all caps).
- For faster results, switch the blower to suction mode: connect the hose to the air intake instead of the outlet. The unit then draws the air out of the screen.
- Once the screen is flat and deflated, close all the valves before folding and storing it away.
The blower supplied with the screen operates in suction mode by reversing the airflow direction. Refer to its manual for the reversal procedure.
Key takeaways
- Inflation via a single valve — all others closed.
- Deflation: open all valves, then draw the air out with the blower in reverse mode.
- Never open the red valve manually — it ensures safety in the event of overpressure.
Need more help?
Our team is available to help you install your Hallucine products.